
The whole purpose of DHCP is to reserve an IP address to a computer or device, every time it connects to a network. Is that simple.

This is particularly useful when you need to access a service or a server. It has to remain accessible the same way once after another. DHCP makes it easy to manage the entire network. All you need is a router and to know the physical address, also know as MAC address.
Table of Contents
Configuration
Which is the IP address of your router?
Go to the network properties from your computer; it will be different on every operating system. Click on the interface by which you are connected to your network and search for the IP address of your router, as shown in the image. It usually ends with ‘.1' .

How do you access your router?
Now enter the IP address in your web browser (Google Chrome, Safari, Firefox, Edge, etc). In my case:
http://192.168.100.1Do you know the credentials to enter the configuration of your router? If not, check below your router if there is handwritten note with the username and password. The most spreadout combo is:
- username: admin
- password: admin

DHCP reservation
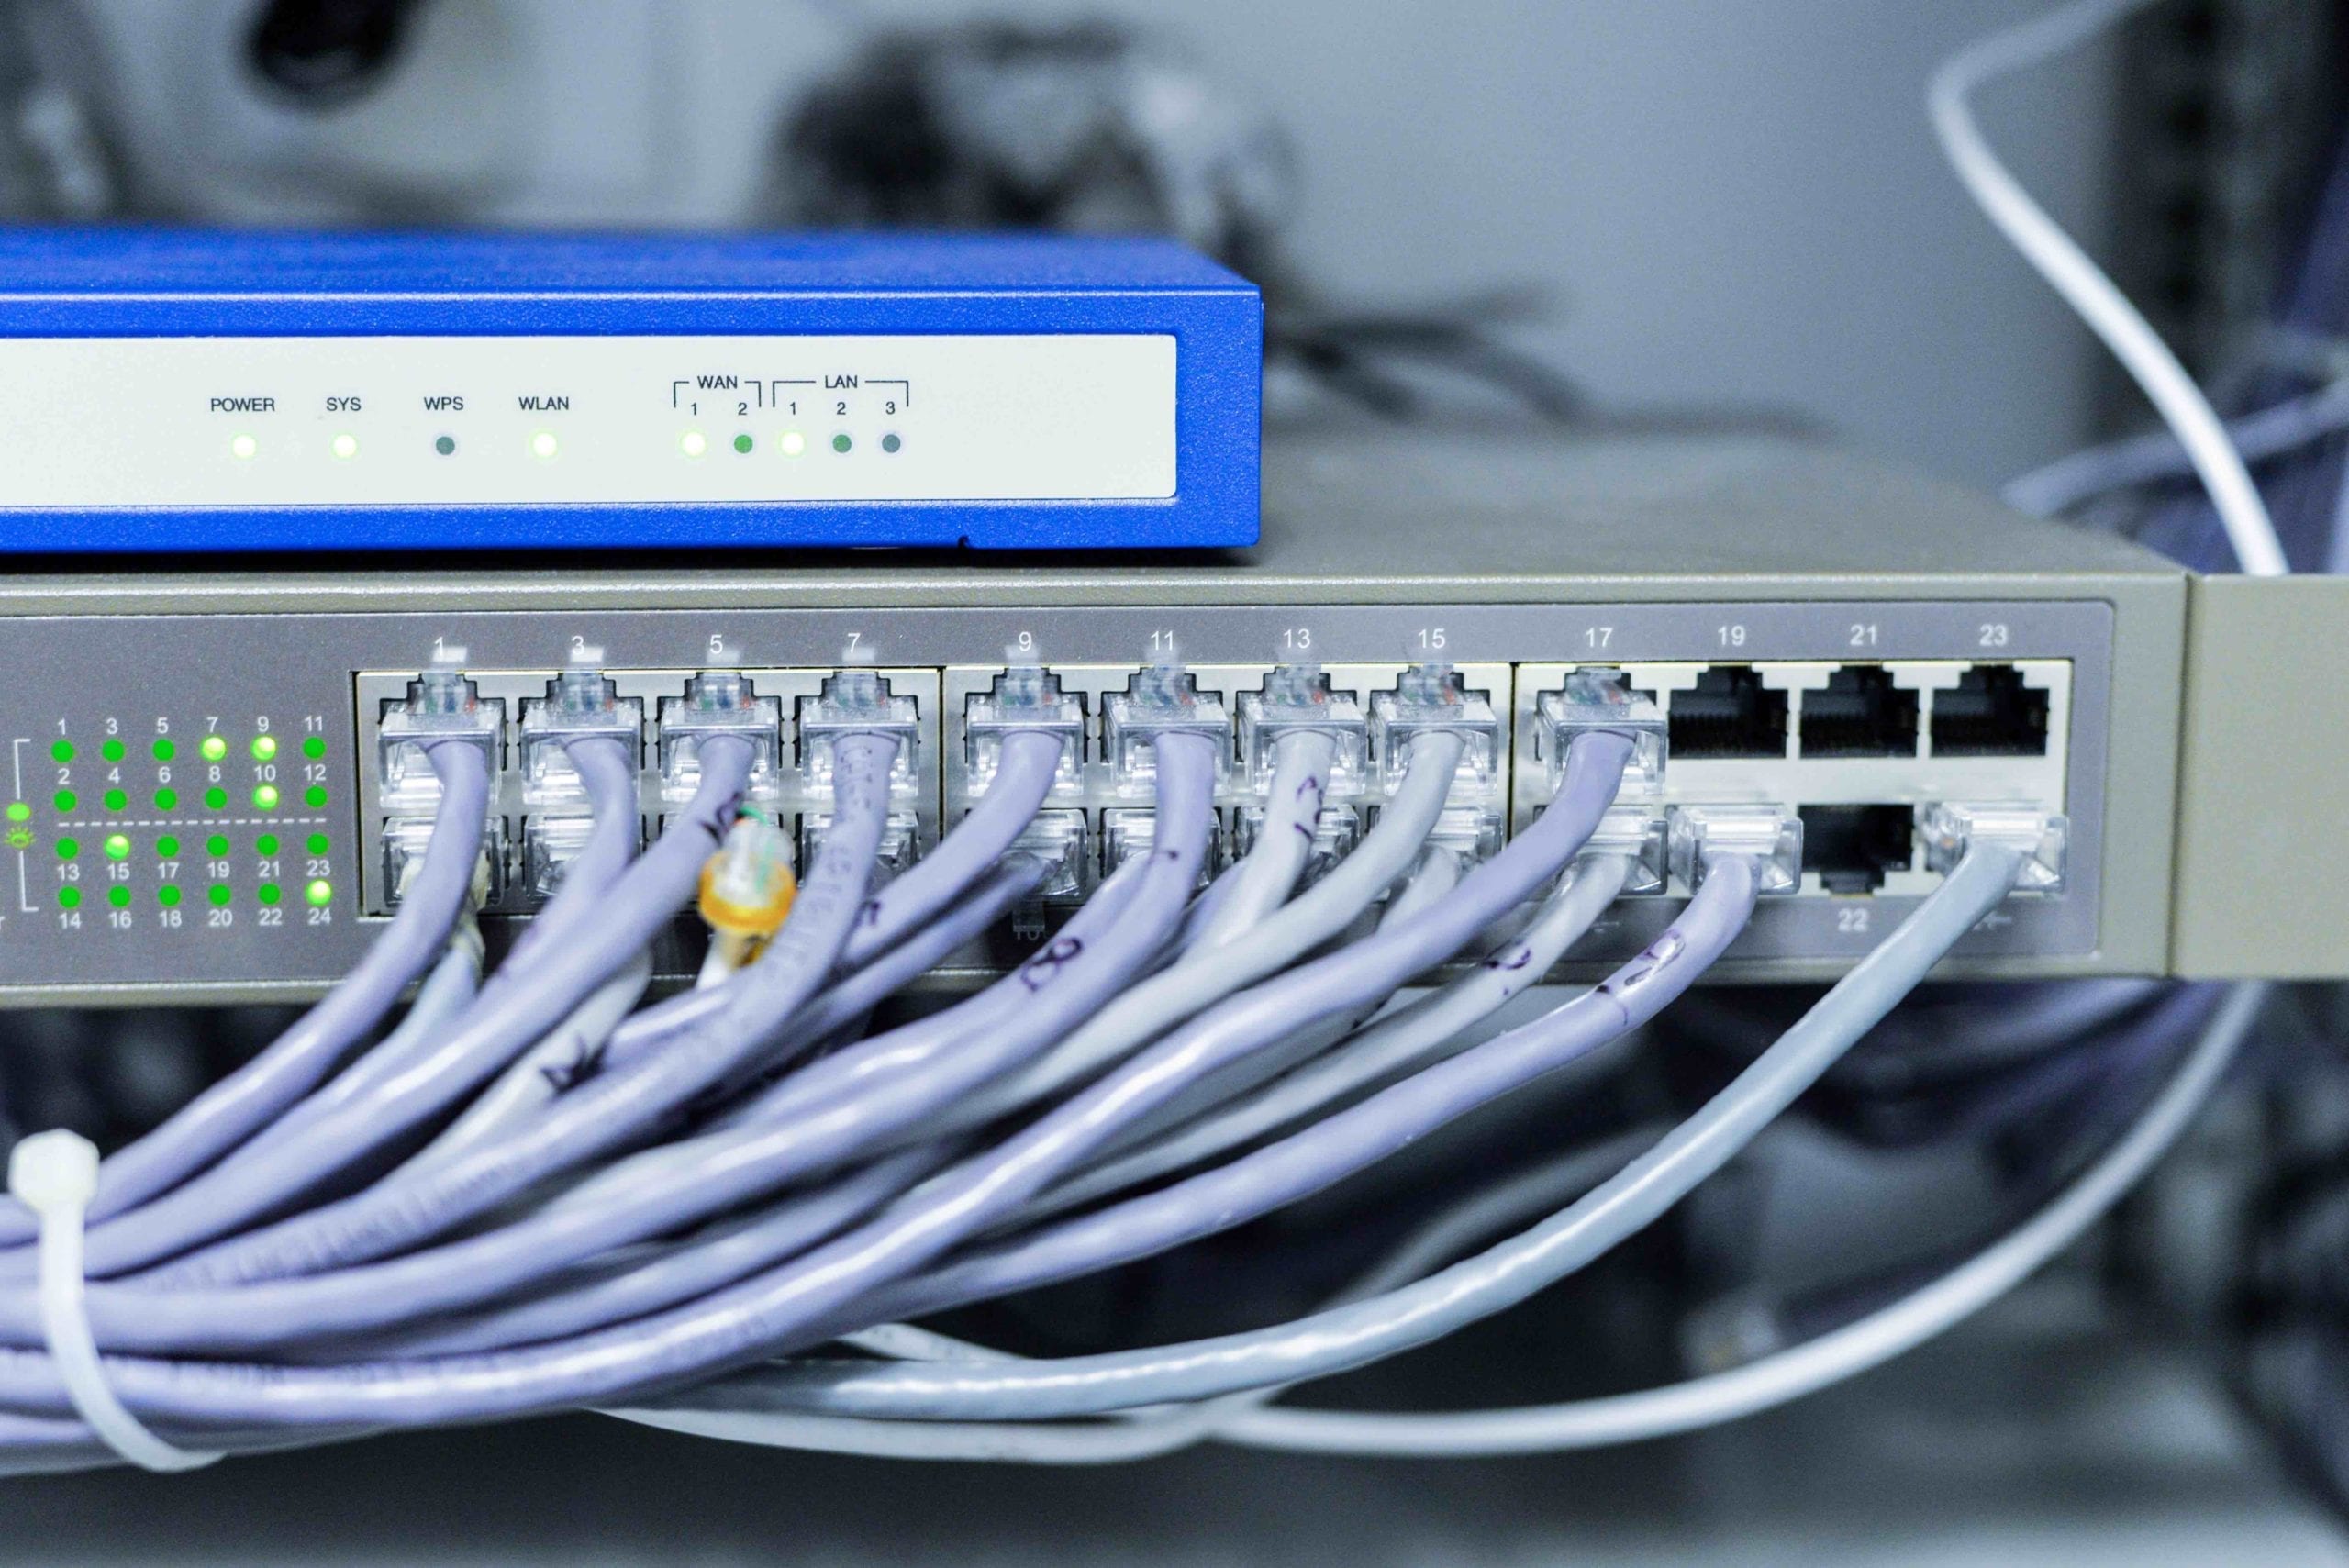
Once you have entered, go to the DHCP option. The user interface will certainly vary from one router to another, but there are always a big label that says “DHCP”. I will show you step by step with screenshots from mine. I'm using the Synology RT2600AC for this example.
Click on Network Center -> Local Network -> DHCP Reservation. Click on the ‘Add' button to add a new device to the list.
- Add the MAC address on the requested device (eg 60:E3:27:BE:62:94 or 60-E3-27-BE-62-94)
- Add the desired IP address. In case your have a subnet mask of 255.255.255.0 or /8, avoid the numbers 0, 1 and 255 since they are reserved.
- Add a name for the device. This is just for the records of the router.

Click ‘Apply' at the bottom of the screen.
Testing
Disconnect your device from the network and then connect to it again. If you are connected with a Ethernet cable, then unplug and plug again. If you are on Wi-Fi, then click on “Switch Wi-Fi” off and on again.
Go to the network properties from your operating system to test if it has worked.
Windows
Click on the Windows logo or the Start menu button and type “network status” and press enter. Open “Change connection properties” and scroll down to the button. If you have a IPv4 network, then check the IPv4 address on ‘Properties'.

macOS
Press Cmd + Spacebar to open Spotlight and then click on “System Preferences”. Select network and check on the left side which network are you connected to, which is indicated with a green circle. In my case, I am connected with Ethernet cable. Under “Use DHCP” scrolldown menu, you will find “IP address” which is in fact the address where you have reserved in your router.

Additional Feature
Click on Network Center -> Local Network -> DHCP Clients to find out which devices has requested an IP address to the router. You may or may not identify all devices using your network. This may be useful to you if you want to see if your neighbor is using your Wi-Fi network!
You have reached this far!
Thank you for reading the blog post. Your comments and suggestions are welcomed. At the bottom of this page, leave a message or just say hi! The whole team of techZorro will appreciate it. Don't forget to share it on social media as well.
techZorro’s Index of Content
Click on the following link to browse likewise content in the blog in techZorro. This index will help you see what you are looking for in a bird’s eye view.
techZorro's Newsletter!
If you enjoyed this blog post, please subscribe to techZorro’s newsletter so you don’t miss any future blog posts!