
What's the price of peace of mind? Backing up up your relevant information can save your a lot of frustration, indeed; and that's exactly what we are going to do today. In this post, we will backup the macOS Server 2011 (except for volatile and easily replaceable files) and also to configure it for Time Machine Backups for other Macs in your network.
This series of posts are related on transforming this old Mac Mini from 2011 into a ‘new' and useful macOS Server 2011. If you are new to this topic, check out the first post. For more posts about this topic, please follow this link.
Table of Contents
So, What is Time Machine in the first Place?
Apple announced this backup feature back in 2007. It was integrated with the operating system Mac OS X Leopard. The software essentially copies all the files that you choose to a external hard drive and then, every hour, it backs up the changes made.
This way you have a file log history from months ago, where you can see how your computer looked like. If you need to retrieve a file, search it here and restore it to your computer.

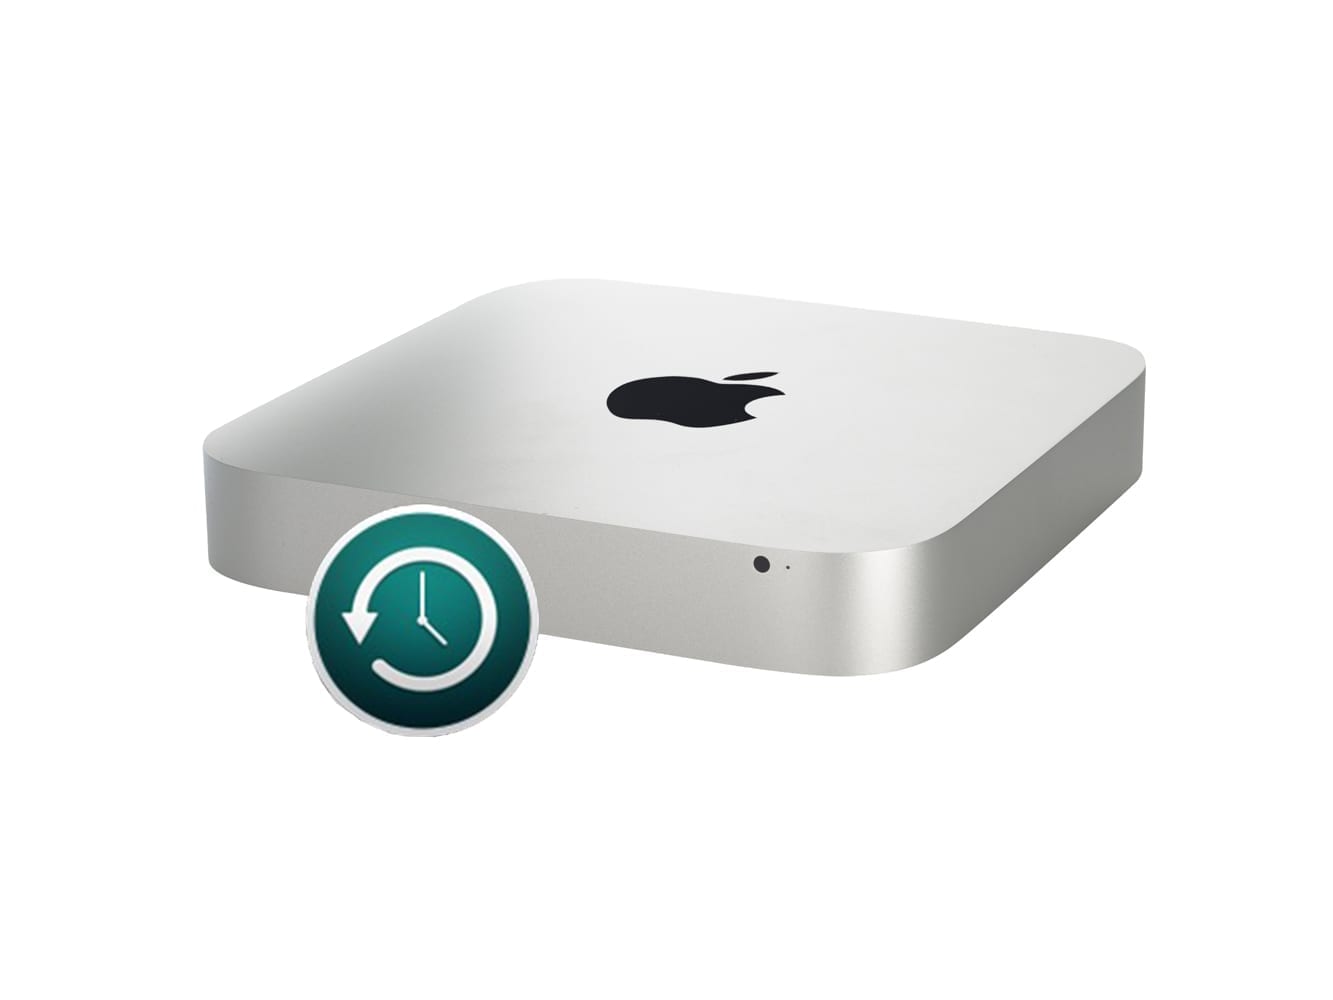
Back up the macOS Server with Time Machine Backups
Backing up the macOS Server will help us preserve important files, system configuration and above all: TIME! You see, you would like to update the macOS Server one day to a newer model, which will have better performance and compatibility with recent software.
What if you screwed up the entire server? Restore it like it was days or weeks ago. If important files are outside the starting disk (containing macOS) it's less likely to lose them.
How to make Time Machines Backups? Connect an external hard drive with higher storage capacity than the macOS Server to it or, if you have a Time Capsule (now discontinued) even better because the backups will now be made over network. More on that later.
Go to Apple icon, then System Preferences, then Time Machine. Check the option below to show Time Machine in the Bar Menu. Click now on select backup disk. Select the hard drive where you want to store the backup.


Encrypting the Time Machine Backups
I strongly encourage you to encrypt all the information of the backup. This way, the information can't be easily readable if someone get unauthorized access to your hard drive.
Check on the box below Encrypt Backups and then click on Use disk. If the hard drive or Time Capsule that you chose is protected by password, you will be prompted to entered it. Afterwards you will be prompted again to enter the desired password for the backups.


Excluding unimportant Files
Files like the App Store or iCloud cache, downloads, Spotify local files and Steam Games aren't necessary for the backup; they can be downloaded again anytime. For this case, I'm going to exclude one folder in particular and you will learn how to do it as well.
In the Time Machine window, click on Options and click on the + button.


Everything is ready!
The Time Machine Backup is ready to make the first and longest backup. Afterwards, the subsequent backups will only store changes to the folders and files.

Check the official guide for Time Machine here.
Setup of Time Machine Backups with the macOS Server
Now, let's serve other Macs with storage space so they can make backups of their computers. All we need to do is assign space in a hard drive.
Click on the Apple icon, then System Preferences, then Share. Click on File Sharing (Check it if it is unchecked), click the plus icon to select a folder. It could be located in an internal or external hard drive, which could be called “Backups” or a similar name. Just pick one, because you can move the location later.


Right click on the selected folder and choose Advanced Options. Uncheck the option Allow guest users and check Share as location for Time Machine Backups. Also check the option below if you want to limit the size of ALL backups here.


That's it! The macOS Server 2011 is ready to serve Time Machine Backups from other Macs.
Next Chapter
In the next blog post, I will configure file exchanges so you can access from a Mac or Windows computer.
techZorro's Index of Content
Keep Reading!
- 007 – The outstanding Internet Protocol Layers and its hidden way to work
 Which protocols are used in internet? This episode talks about TCP/IP or Internet Protocol Layers required to work. Click here to listen.
 - 003 – Wi-Fi vs Ethernet, Convenience vs Reliability?When should a wired or wireless network be used? Let's discuss the differences between Wi-Fi and Ethernet. Click here to listen.
- The outstanding Internet Protocol Layers and its hidden way
 What is Internet Protocol or TCP/IP and how does it work? The Internet Protocol Layers are explained in this post. Click here to read.
 - Ethernet vs Wi-Fi
 When should a wired or wireless network be used? This post presents a brief comparison of Ethernet vs Wi-Fi. Click here to read.
 - Optical Media for the macOS Server 2011
 Build your media entertainment solution with optimal media and a Mac Mini. CD, DVD and Blu-ray discs are covered. Click here to read more.
You have reached this far!
Thank you for reading the blog post. Your comments and suggestions are welcomed. At the bottom of this page, leave a message or just say hi! The whole team of techZorro will appreciate it. Don't forget to share it on social media as well.
techZorro’s Index of Content
Click on the following link to browse likewise content in the blog in techZorro. This index will help you see what you are looking for in a bird’s eye view.
techZorro's Newsletter!
If you enjoyed this blog post, please subscribe to techZorro’s newsletter so you don’t miss any future blog posts!