
To program a microcontroller, you will need a tool such as the PICkit. This device links the IDE from the computer with the microcontroller, usually by a USB port. Continue reading to learn how to connect a PICkit 4 or any other PICkit to the microcontroller.
Do you know what are the requirements for programming a microcontroller? Here you will find a fresh guide to start; click in the link below:
Table of Contents
USB Cable
I will use for this tutorial the PICkit 4. If you have the PICkit 3, it will work equally good. Connect the PICkit to the computer with the included USB cable. Notice that PICkit 3 uses mini-USB-B and PICkit 4 uses micro-USB-B.


How is the Microcontroller placed?
Is the microcontroller connected to a breadboard (left) or to a PCB (right)?

Breadboard. 
PCB with an integrated circuit.
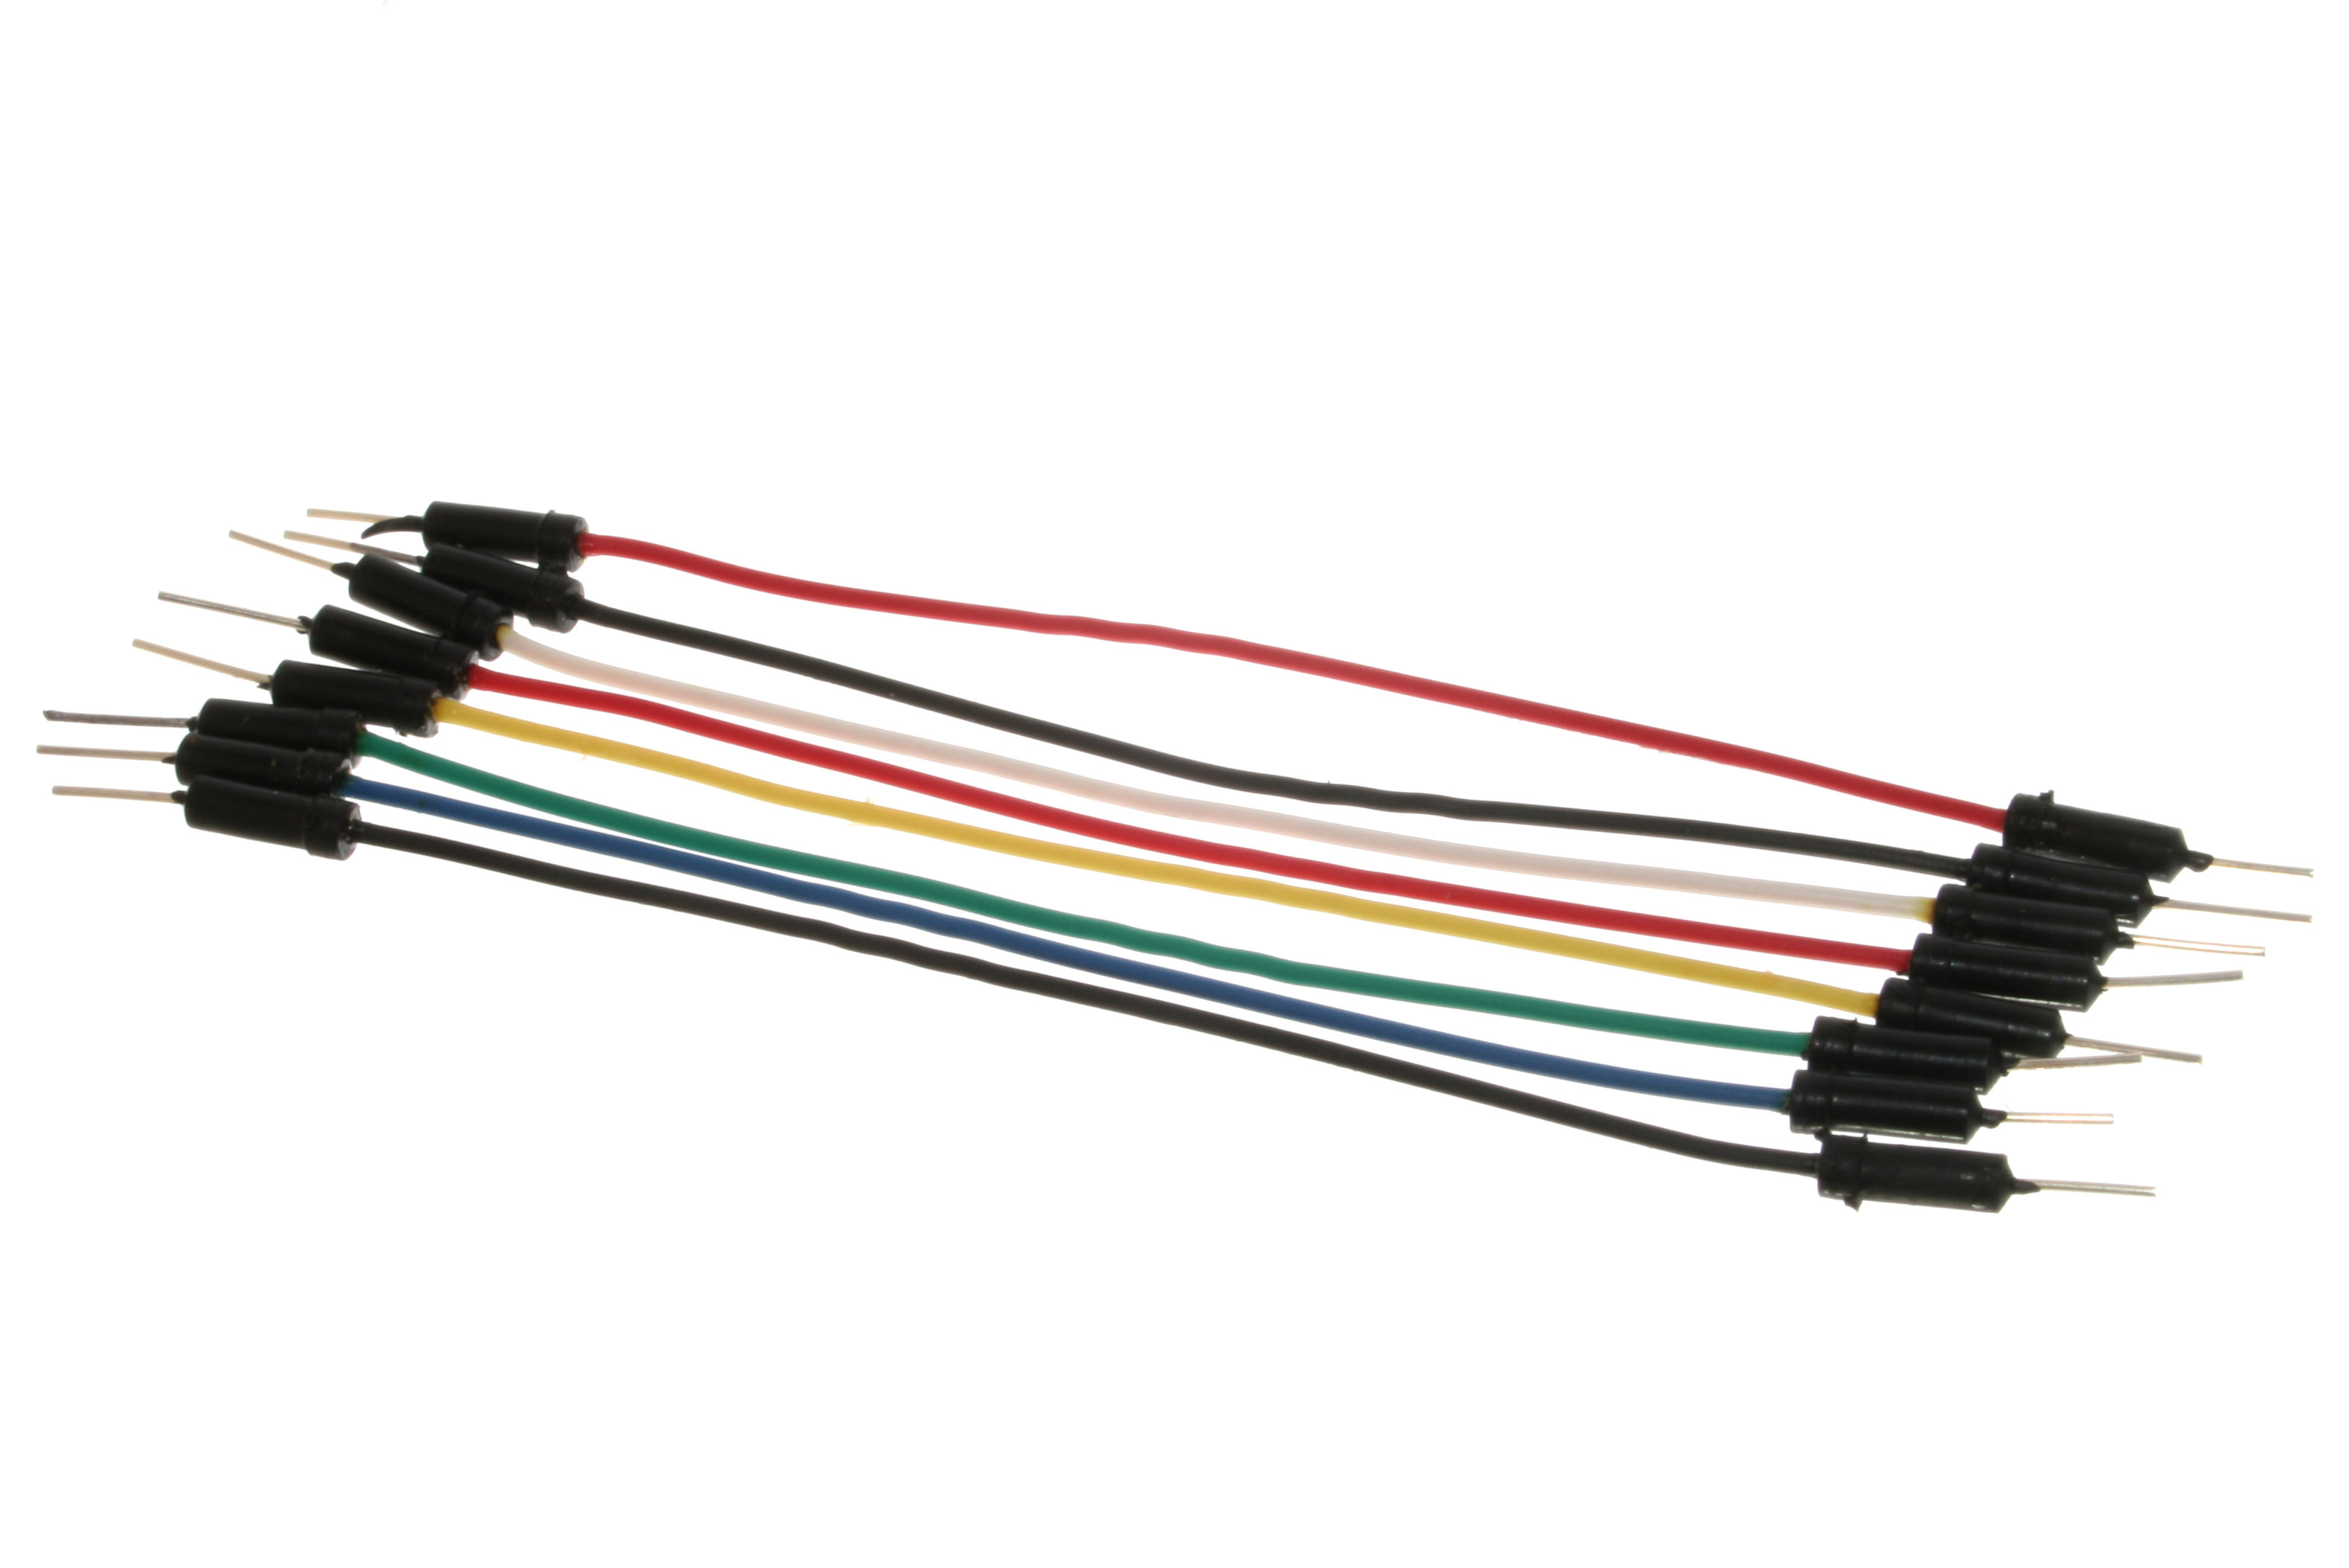
How to connect PICkit in a Breadboard? Use Jumper Cables
If the microcontroller is placed in a breadboard, then I recommend that you connect them with jumper cables o wires like ones below. They have to be 5 male-male units and at least 2,5cm long.
How to connect PICkit in a PCB? Use Pin Headers
If the microcontroller is already in the PCB, then it might be good idea to plug it with a pin header. It can be either soldered or unsoldered. It provides better mechanical grip than with jumper cables. (The square copper pad indicates the first pin).


How to connect the pins from the PICkit
From all connections or pins available in the PICkit, you will need only 5:
- MCLR: Master Clear.
- VDD: The power source (5V or 3.3V); the positive ‘ + ‘.
- VSS: The ground (GND) of the circuit; the negative ‘ – ’.
- PGD: The programming data from the PICkit.
- PGC: The programming clock from the PICkit.

Pick your PICkit up. To find out which is which, refer to the following images.
Both images were taken from the PICkit 3 and PICkit 4 User Guides, respectively.

PICkit 3 pinout 
PICkit 4 pinout
Matching the Correct Pins
This pins from the PICkit must be connected to the same pins of the microcontroller (for example, the PIC16F628A is pictured below).

The red arrows indicate the pins that must be connected near the microcontroller. The green arrows indicate the pins that can be connected to the power bus.
- The MCLR from the PICkit must be connected to the RA5/MCLR/Vpp pin, which corresponds to the pin 4 of the microcontroller.
- The VDD (or in the 5V+ power bus) from the PICkit must be connected to VDD which corresponds to the pin 14 of the microcontroller. (Some microcontrollers have more than 1 power pin).
- The VSS (or in the GND power bus) from the PICkit must be connected to VSS which corresponds to the pin 5 . (Some microcontrollers have more than 1 power pin).
- The PGD from the PICkit must be connected to the RB7/T1OSI/PGD pin, which corresponds to the pin 13.
- The PGC from the PICkit must be connected to the RB6/T1OSO/T1CKI/PGC which corresponds to the pin 12.
Examples
In the pictures below you will find examples of connecting the PICkit with microcontrollers.
PIC16F628A in a breadboard


Next Chapter
Now you need to set up everything with MPLAB IDE; the program where you will write your code for the microcontroller. Follow the link below:
techZorro's Index of Content
Keep Reading!
- 008 – Variable Frequency Drives: how this controller can transform induction motors forever
 AC induction motors can be transformed into a highly controllable machine with Variable Frequency Drives or VFD. Click here to listen.
 - 006 – Regenerative Braking, an awesome Feature found in Electric MotorsThis episode is related to this hidden feature of electric motors called regenerative braking. Click here to listen.
- 005 – 7 types of Electric Motors that you should know aboutThere are several types of electric motors that differs in efficiency, power, cost, torque output, etc. Click here to listen.
- 004 – AC Voltages, Frequencies and Plugs around the WorldLet's talk about electricity! Specifically about how the standards around the world. Click here to listen.
- 002 – RISC vs CISC, how a few Differences are crucial to ComputingToday in the market is found two kinds of processor architectures: RISC and CISC. Both have some advantages. Click here to listen.
You have reached this far!
Thank you for reading the blog post. Your comments and suggestions are welcomed. At the bottom of this page, leave a message or just say hi! The whole team of techZorro will appreciate it. Don't forget to share it on social media as well.
techZorro’s Index of Content
Click on the following link to browse likewise content in the blog in techZorro. This index will help you see what you are looking for in a bird’s eye view.
techZorro's Newsletter!
If you enjoyed this blog post, please subscribe to techZorro’s newsletter so you don’t miss any future blog posts!
[…] How to connect PICkit to a microcontroller […]
[…] reading this, you will need to know how to setup MPLAB IDE and how to connect the PICkit to the microcontroller. Check them out […]
[…] reading this, you will need to know how to setup MPLAB IDE and how to connect the PICkit to the microcontroller. If not, check them out first. Check out also another projects for beginners […]
[…] reading this, you will need to know how to setup MPLAB IDE and how to connect the PICkit to the microcontroller. If not, check them out first. Check out also another projects for beginners […]
[…] How to connect any PICkit to a microcontroller […]
[…] After programming the PIC microcontroller (follow this link if you don’t know how), the LED seems to turn on for one second and then it turns off for one second; afterwards, this cycle repeats itself. I checked it with a stopwatch and it certainly works as intended. […]
[…] programming the PIC microcontroller (follow this link if you don't know how), the LED seems to be dimmed or not […]