
So what is MPLAB anyway? It is a software that integrates many useful tools for developing code for PIC microcontrollers. Such programs are called “IDE” and it stands for “Integrated Development Enviroment”, in other words, the tool that “contains it all”.
In the IDE, you write your code, you check it's spelling, you configure the registers from your microcontroller and many other handy tasks that would be so tedious and slow to write with a plain-text editor. And how it will help me with the programming of PIC microcontrollers? Keep reading to find out:
Don't forget to check out the previous post about PIC microcontrollers:
Table of Contents
OS Requirements
What do you need to start? A desktop or laptop computer with the following operating systems:
- Windows.
- macOS.
- Linux.
More details for minimum requirements for MPLAB you can find on the official page of Microchip, as well as instructions for the installation for your corresponding OS.
Compiler Requirements
When you write the code for the PIC microcontroller, the human alphabet is used and it's designed to be understand by other humans. But microcontrollers and computers can't understand our language and syntax; therefore, a ‘compiler‘ is used to translate what we write into a code for machines.

Finding the right Compiler
Do you know which architecture uses your target PIC microcontroller? Go to this website and find and download the corresponding compiler:
- XC8 for 8-bit PIC microcontrollers.
- XC16 for 16-bit PIC microcontrollers.
- XC32 for 32-bit PIC microcontrollers.
There are free and paid version. If you are just starting out, pick the free one and continue. You can always come back later to get the paid versions later.
Sample Project
In this example, I'm going to create a new project step-by-step for a 8-bit PIC microcontroller called PIC16F628A for illustration purposes. A similar process goes for other microcontrollers.
Create a new project in the File menu or by pressing Ctrl + Shift + N and select Standalone project. Next, choose 8-bt mid-range MCUs and choose from the list PIC16F628A. Next, skip the header step.


Recognizing the PICkit
If you don't know how to connect the PIC microcontroller to the PICkit, please refer to this post:
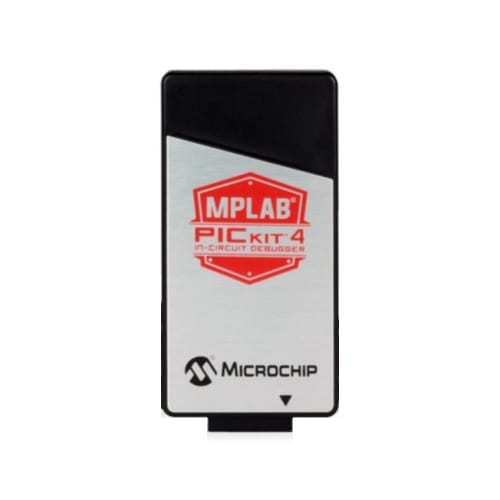
Connect the PICkit to the computer via an available USB port. A drop-down menu will show up with your corresponding PICkit (it shows up as SN and it's serial number). I have selected my PICkit 4.

Next, you will be prompted with the list of compilers that you have installed. Select the XC8 and click next. Now write the name of the project, preferably “Hello World”. That's all for the project configuration.


Create the C File
Now, let's create the file that will be executed (or run) as soon as the PIC microcontroller is powered. Right click on the “Source Files” folder and select New > C Main File. Choose a name or just simply click on finish. Here is how the program out-of-the-box looks like.


Including the Compiler
Remember to include the compiler outside any function. I recommend you to place it at the beginning of the program.
#include <xc.h>How to Compile and Program a Device
I'm going to use the code from the Hello World of a 8-bit microcontroller for this example. Check it out here.
Project Building
First, make sure that we haven't done any mistake in the sintaxis or spelling of the code. Click on the “Build Main Project” button (or click F11) to check if it is spelled correctly and the compile process will start.

If there is a mistake or typo in your code, MPLAB IDE will let you know (like in the example below). Search in your code if there is any underlined text with red. Correct the code and then compile it again by clicking on the “Build Main Project” button.

If everything is good to go, then you will see a message similar to this in the Output window, showing a “Build Successful” message.

Now is time to connect the PIC programmer (like PICkit 3 or 4) to the computer, if you haven't already. A small notification in the lower right corner should appear indicating the programmer was found. Click on the “Make and Program Device Main Project” button to start.

Warning!
If it begins to compile (like if you had pressed the “Build Main Project” button, and then a warning will pop up asking a important question:
Are you 100% sure that you have connected the PIC16F628A to your PICkit and not other device?
This becomes very important when you are working one day in one project with one PIC microcontroller and then you need to change something the next day (or next hour) on another project with a different PIC microcontroller. For example, if these work with different voltages (5V and 3.3V) then you might burn, damage or harm one of them irreversibly; be careful! Click “OK” when you have checked and when you are ready to program.
Download the Firmware to the PIC microcontroller
After you are sure about the microcontroller that you are connecting, MPLAB will program the device with the code of the project. If everything is fine, then the program will show this success message:

Next Step
Now, let's learn how to code a simple and basic “Hello World” project. Follow the link below.
techZorro's Index of Content
Keep Reading!
- 008 – Variable Frequency Drives: how this controller can transform induction motors forever
 AC induction motors can be transformed into a highly controllable machine with Variable Frequency Drives or VFD. Click here to listen.
 - 006 – Regenerative Braking, an awesome Feature found in Electric MotorsThis episode is related to this hidden feature of electric motors called regenerative braking. Click here to listen.
- 005 – 7 types of Electric Motors that you should know aboutThere are several types of electric motors that differs in efficiency, power, cost, torque output, etc. Click here to listen.
- 004 – AC Voltages, Frequencies and Plugs around the WorldLet's talk about electricity! Specifically about how the standards around the world. Click here to listen.
- 002 – RISC vs CISC, how a few Differences are crucial to ComputingToday in the market is found two kinds of processor architectures: RISC and CISC. Both have some advantages. Click here to listen.
You have reached this far!
Thank you for reading the blog post. Your comments and suggestions are welcomed. At the bottom of this page, leave a message or just say hi! The whole team of techZorro will appreciate it. Don't forget to share it on social media as well.
techZorro’s Index of Content
Click on the following link to browse likewise content in the blog in techZorro. This index will help you see what you are looking for in a bird’s eye view.
techZorro's Newsletter!
If you enjoyed this blog post, please subscribe to techZorro’s newsletter so you don’t miss any future blog posts!
[…] reading this, you will need to know how to setup MPLAB IDE and how to connect the PICkit to the microcontroller. Check them out […]
[…] reading this, you will need to know how to setup MPLAB IDE and how to connect the PICkit to the microcontroller. If not, check them out first. Check out also […]
[…] reading this, you will need to know how to setup MPLAB IDE and how to connect the PICkit to the microcontroller. If not, check them out first. Check out also […]
[…] reading this, you will need to know how to setup MPLAB IDE and how to connect the PICkit to the microcontroller. If not, check them out first. Check out also […]